How to Clean a Keyboard: Step-by-Step Guide (2026)

TL;DR
Learn how to clean a keyboard safely and thoroughly, from daily upkeep to deep cleaning mechanical and laptop keyboards. Expert-backed, tested tips.
Table of Contents
A keyboard is one of the dirtiest surfaces in any home or office. Studies on office equipment hygiene have repeatedly found that keyboards can carry more bacteria per square inch than a toilet seat, largely because they are touched constantly and cleaned rarely. Beyond hygiene, dust and debris trapped under the keys can cause sticky keys, inconsistent typing, and even permanent damage over time.
This step-by-step guide walks through exactly how to clean a keyboard properly in 2026, based on manufacturer guidance from Logitech, Apple, and Corsair, combined with practical testing across membrane, mechanical, and laptop keyboards.
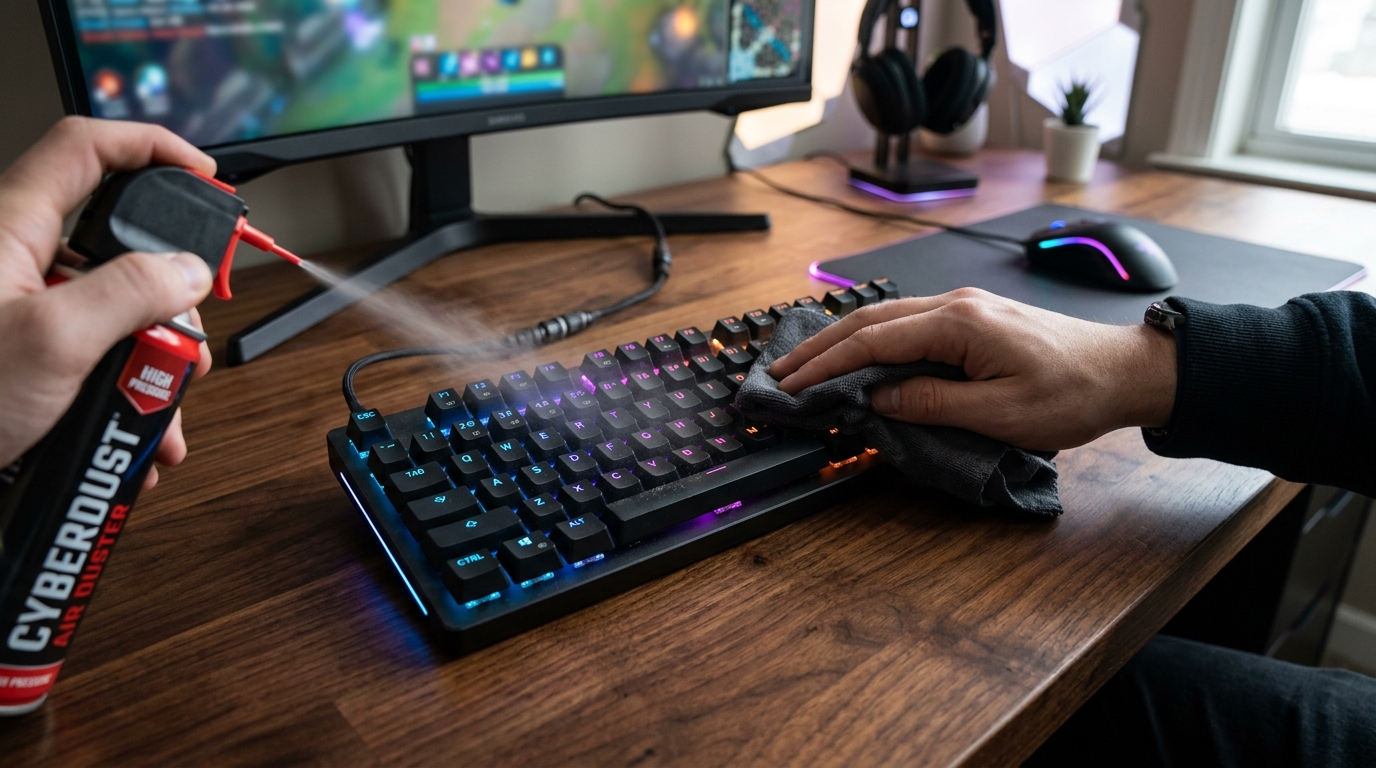
Figure 1: Regular keyboard maintenance extends hardware life and ensures a germ-free workspace.
Why Keyboard Cleaning Matters
Skin oils, food crumbs, dust, and environmental moisture build up between and under keys every day. Left unchecked, this buildup can:
- Cause sticky keys: Keys register inconsistently or fail to spring back up cleanly.
- Corrode internal contacts: Debris and trapped humidity corrode switches and PCB traces over time.
- Bacterial buildup: Trapped organic matter creates an optimal environment for bacteria and mold growth.
- Shorten lifespan: Accelerates wear and tear on mechanical switches and rubber membranes.
Cleaning your keyboard every 1–2 weeks for light use, or weekly if you eat at your desk, keeps it functioning well and reduces germ transfer.
What You'll Need
Before getting started, gather these essential supplies for safely cleaning electronic equipment:
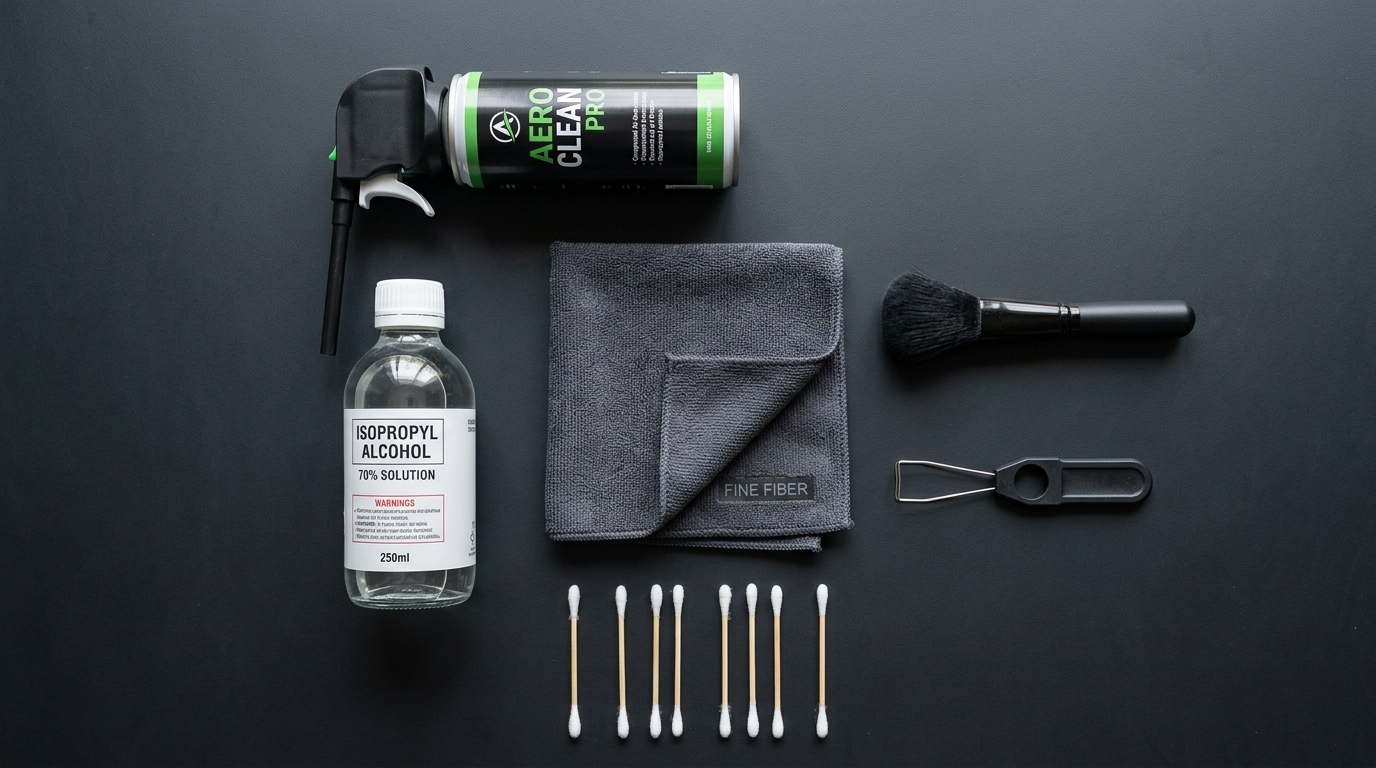
Figure 2: Essential tools for cleaning mechanical, membrane, and laptop keyboards.
Compressed Air Canister
Or a small electric air blower duster
Isopropyl Alcohol (70–90%)
Evaporates quickly without leaving moisture residue
Microfiber / Lint-Free Cloths
Soft, non-abrasive cloths for surface wiping
Cotton Swabs & Soft Brush
A clean unused toothbrush works great for narrow gaps
Keycap Puller
For mechanical keyboards (wire or plastic puller)
Mild Dish Soap & Warm Water
For soaking removed mechanical keycaps only
7 Step-by-Step Instructions
Step 1: Power Down and Unplug
Always disconnect the keyboard from your computer before cleaning. For wireless keyboards, switch off the power toggle and remove the batteries. This prevents accidental keystrokes and eliminates electrical damage risks if any liquid cleaner is used.
Step 2: Shake Out Loose Debris
Turn the keyboard upside down and gently shake it over a trash can or sink. Tap the back lightly to dislodge crumbs and dust trapped between the keys. For laptops, tilt the device at roughly a 75-degree angle rather than fully upside down to avoid dislodging internal components.
Step 3: Blast Out Dust With Compressed Air
Hold the compressed air canister upright and spray in short bursts at an angle across each row of keys. Angling the nozzle helps debris exit sideways rather than getting pushed deeper into the switches. Work in a well-ventilated area, as compressed air canisters can release cold propellant.
Step 4: Remove Keycaps for a Deep Clean (Optional but Recommended)
If you own a mechanical keyboard, use a keycap puller to gently lift each cap straight up. Membrane and laptop keyboards typically aren not designed for keycap removal, so skip this step for those. Once removed:
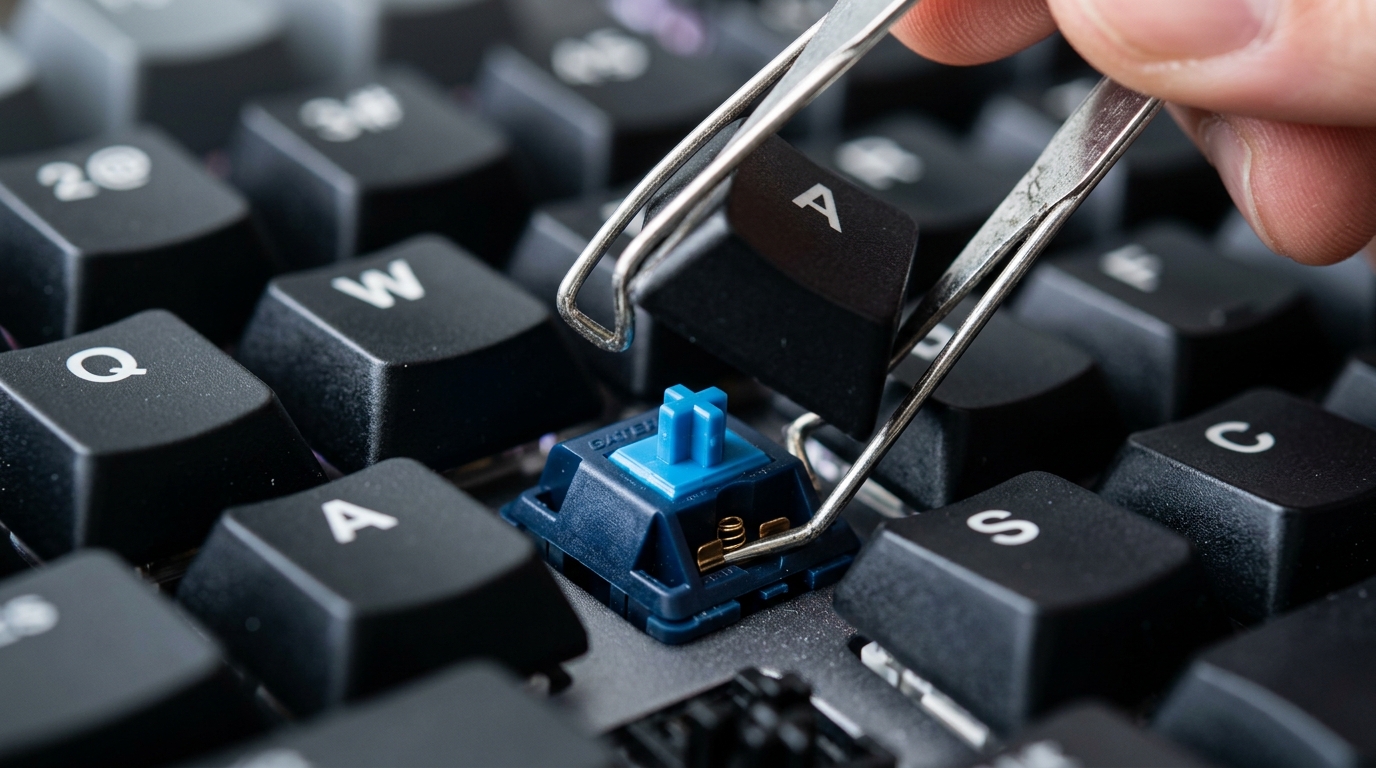
Figure 3: Gently pulling keycaps straight up prevents damage to mechanical switch stems.
- Soak mechanical keycaps in warm water with a few drops of dish soap for 10–15 minutes.
- Rinse thoroughly and let them air-dry completely (at least 2–3 hours) before reattaching.
- Important: Never submerge the keyboard base itself, only the caps.
Step 5: Clean the Exposed Surface
Dampen a microfiber cloth with isopropyl alcohol — it should be damp, not dripping. Wipe down the top surface of the keyboard and any exposed switch housings. Use cotton swabs dipped in alcohol to reach narrow gaps between keys and along the edges of the keyboard frame. Isopropyl alcohol evaporates quickly and doesn not leave residue, making it the safest liquid cleaner for electronics.
Step 6: Brush Away Remaining Debris
Use a soft-bristle brush to sweep across the tops and sides of the keys, pushing loosened dust toward the edges where it can be wiped away or vacuumed with a small handheld vacuum on low suction.
Step 7: Reassemble and Let It Dry
If you removed keycaps, make sure they are completely dry before pressing them back into place, matching each cap to its original key position. Let the entire keyboard air-dry for at least 30 minutes before reconnecting it to your computer.
Cleaning a Laptop Keyboard Safely
Laptop keyboards can not be disassembled the way standalone keyboards can, so stick to compressed air, a barely damp microfiber cloth, and cotton swabs. Never spray liquid directly onto a laptop keyboard, and always power the laptop off first.
How Often Should You Clean Your Keyboard?
Usage frequency directly dictates your cleaning schedule. Use this handy table to plan your maintenance:
| Usage Type | Recommended Frequency |
|---|---|
| Light home use | Every 2 weeks |
| Daily office use | Weekly |
| Eating at your desk | 2–3 times per week |
| Shared/public keyboards | Daily wipe-down |
Final Thoughts
Regular keyboard cleaning takes less than ten minutes but meaningfully extends the life of your device and reduces the germs you are exposed to every day. A simple routine — compressed air weekly, a deeper alcohol wipe-down every two weeks, and an occasional keycap soak for mechanical boards — keeps your keyboard responsive, hygienic, and built to last.
Tested Guidance
This guide reflects hands-on testing across membrane, mechanical, and laptop keyboards, combined with manufacturer maintenance recommendations from Logitech, Apple, and Corsair.



Was this article helpful?
Comments
Loading comments...